Quick start
By the end of this page you'll have a verified domain and your first completed scan.
1. Create an account
Go to app.pentestas.com and sign up with email + password, Google, or Microsoft. Signing up with a corporate email creates a new tenant — a private workspace that will hold all your scans, findings, and team members.
Why a tenant? Every scan, finding, agent key, API key, and report is scoped to a single tenant. When you invite a teammate they join your tenant; they never see another customer's data even if they happen to scan the same target.
2. Verify a domain you own
Pentestas will only scan targets you can prove you control. This is a hard rule — the platform rejects scan requests against unverified domains so you can't point it at a competitor's site.
- In the app, open Settings → Domains.
- Click Add domain, type the bare domain (e.g.
example.com, nothttps://...). - You'll get a random token (
pentestas-verify=...). Add it as a TXT record at the zone apex. - Click Verify. Pentestas queries your DNS; once the token resolves, the domain is unlocked for scanning.
More detail: Verify a domain.
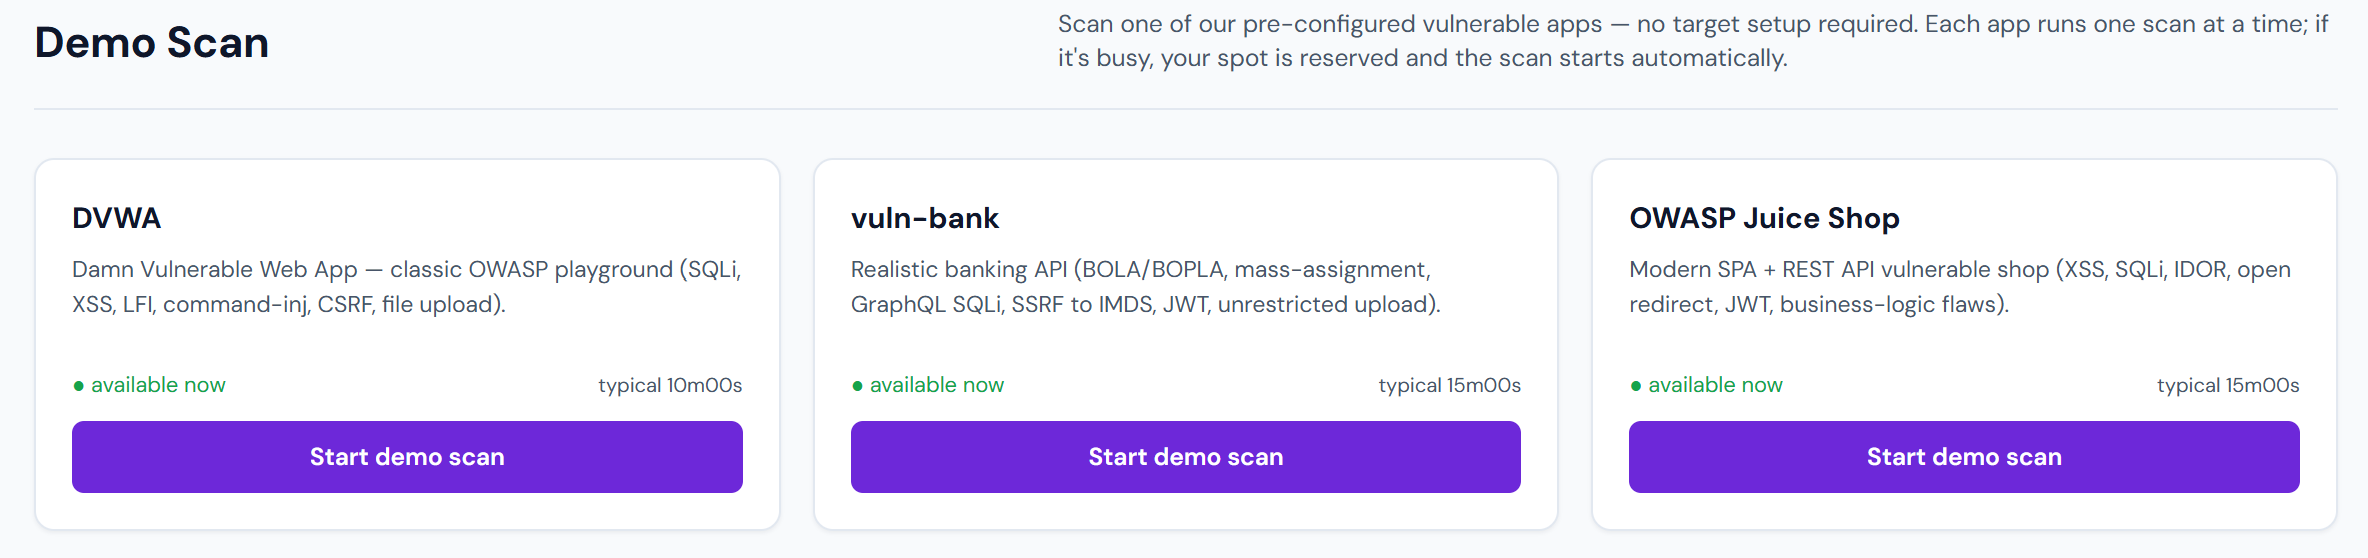
3. Start a scan
- Dashboard → New scan.
- Enter the target URL (full URL, including scheme —
https://example.com/app). - Pick scan types. For a first run, leave the defaults on: Web App, API, Authentication, Discovery.
- Click Start scan.
The scan begins within seconds. You'll see live progress: phases (Crawling → Attack surface → Payload testing → AI analysis), streaming findings, and an attack-chain graph that updates as new findings land.
See Your first scan for a guided walkthrough.
4. Read your findings
- Severity — CRITICAL / HIGH / MEDIUM / LOW / INFO. Explained in detail in Severity scale.
- Validation status — Pentestas re-runs every finding against an "accuracy gate" that filters false positives before they're persisted. The
Verifiedbadge means an independent verifier re-confirmed the signal. - Attack chains — multi-step compromise paths combining several findings. Usually where the real business risk lives. See Attack chains.
5. Invite your team (optional)
Settings → Team → Invite by email. Roles:
| Role | Can scan | Can view findings | Can invite | Can manage billing |
|---|---|---|---|---|
| Admin | ✓ | ✓ | ✓ | ✓ |
| User | ✓ | ✓ | ||
| Viewer | ✓ |
Where to go next
- Want to scan an intranet app or on-prem service? → Agents overview
- Automating scans from CI? → API authentication
- Prepping a report for a stakeholder? → Report formats
- Not sure what a finding means? → Glossary